- June 02, 2015
- 0 Comments
- In Accessible Design and Construction
- By Peter Stratton
Part 2: Dwelling Units
As promised, we’re back with Part 2 of the most common mistakes that our accessibility group encounters when assessing for compliance with regulatory requirements for accessible design and construction. This time, we’ll focus on frequent problems that we have encountered within dwelling units. Remember, in order to save time and money on costly remediation once construction begins – and reduce the risk of exposure to future litigation – it is best to tackle these issues early in the design phase.
Here are just a few of the violations frequently identified by our inspectors:
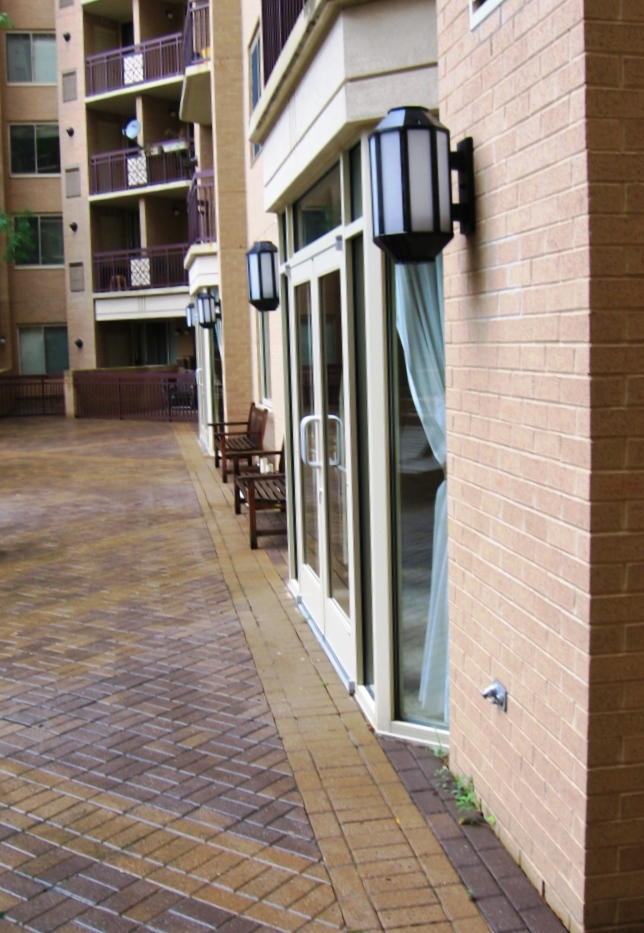
1. Doors: Clear Width
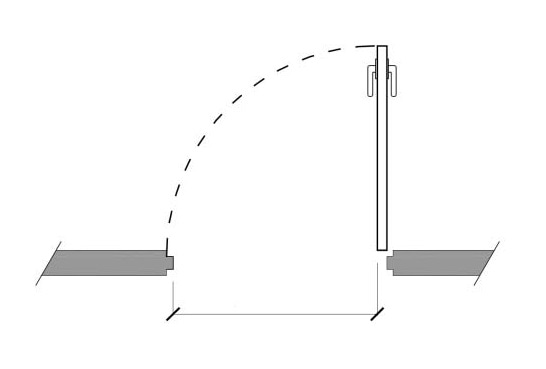
Clear width is measured between the face of the door and the opposing stop, when the door is open 90 degrees.
Every door within a dwelling unit that is intended for user passage must provide the necessary clear opening to provide access to a person with a wheelchair, or other mobility aid. The minimum clear width requirement varies (32 inches nominal or 32 inches minimum), so it is important to consult federal, state, and local codes to ensure that the specified doors will comply. This requirement applies to all doors within the unit – it does not matter whether there are multiple doors providing access to a particular room.
Specifying user passage doors that are 3’-0” or 2’-11”, including doors to closets deeper than 24 inches, will help to ensure that a compliant clear width is achieved.
2. Kitchen Clearance

Projecting appliances often encroach into the required clearance in dwelling unit kitchens.
The minimum clearance between opposing elements in a kitchen depends on whether the kitchen is a galley kitchen (40 inches) or a U-shaped kitchen (60 inches). Clearance is measured between the furthest projecting element of opposing countertops, appliances (excluding handles), and base cabinets.
Often, the range and refrigerator are not aligned with the edge of the countertop, as commonly drawn on plans. These appliances frequently project beyond the edge of the countertop and often compromise the required minimum clearance. If larger appliances are selected (or substituted) after kitchen layouts have been designed, it is important that the layouts are reassessed with the updated appliance dimensions to ensure that clearances are maintained.
3. Outlets, Switches, and Environmental Controls
Switches, electrical outlets, thermostats, and other controls intended to be used by the resident must be located within accessible reach range. Noncompliance often occurs when reaching over an obstruction to access the controls is required (e.g., kitchen countertops). Often, electrical subcontractors install light switches and outlets at a consistent height, which while compliant for an outlet mounted on a wall in the middle of the room, will not necessarily work for an outlet mounted over a counter. We highly recommend installing all switches, outlets, and other controls no more than 44 inches above the finished floor, measured to the top of the electrical box.
Dimensioning to the top of the electrical box for outlets mounted high on the wall and the bottom of the electrical box for outlets mounted low on the wall will ensure that all operable parts are fully mounted within accessible reach range.
It is never too soon to think about accessible design requirements. The earlier these common problem areas are taken into consideration, the easier it will be to ensure compliance with accessibility laws and regulations once the construction phase of the project begins. By planning ahead, it is possible to address the most widespread issues in the design phase, significantly reducing the amount of delays in the field. A little effort now could eliminate a lot of headaches later.