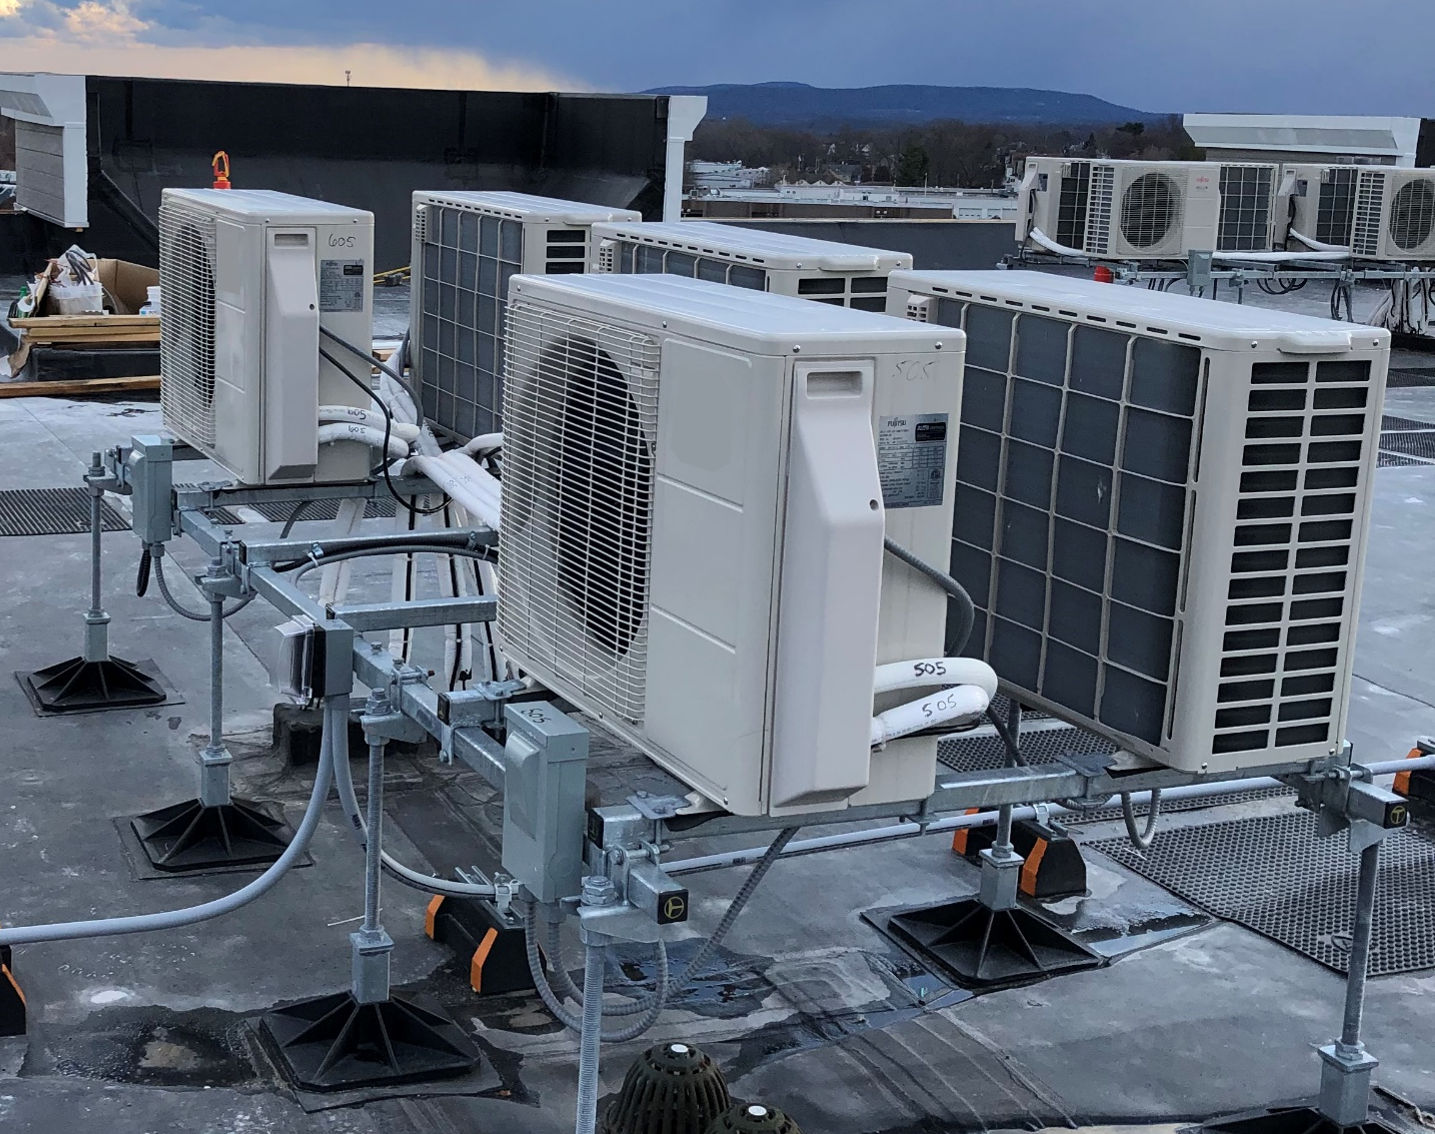
Balancing Large, Central Ventilation Systems: What We Know After Testing Hundreds of Multifamily Buildings
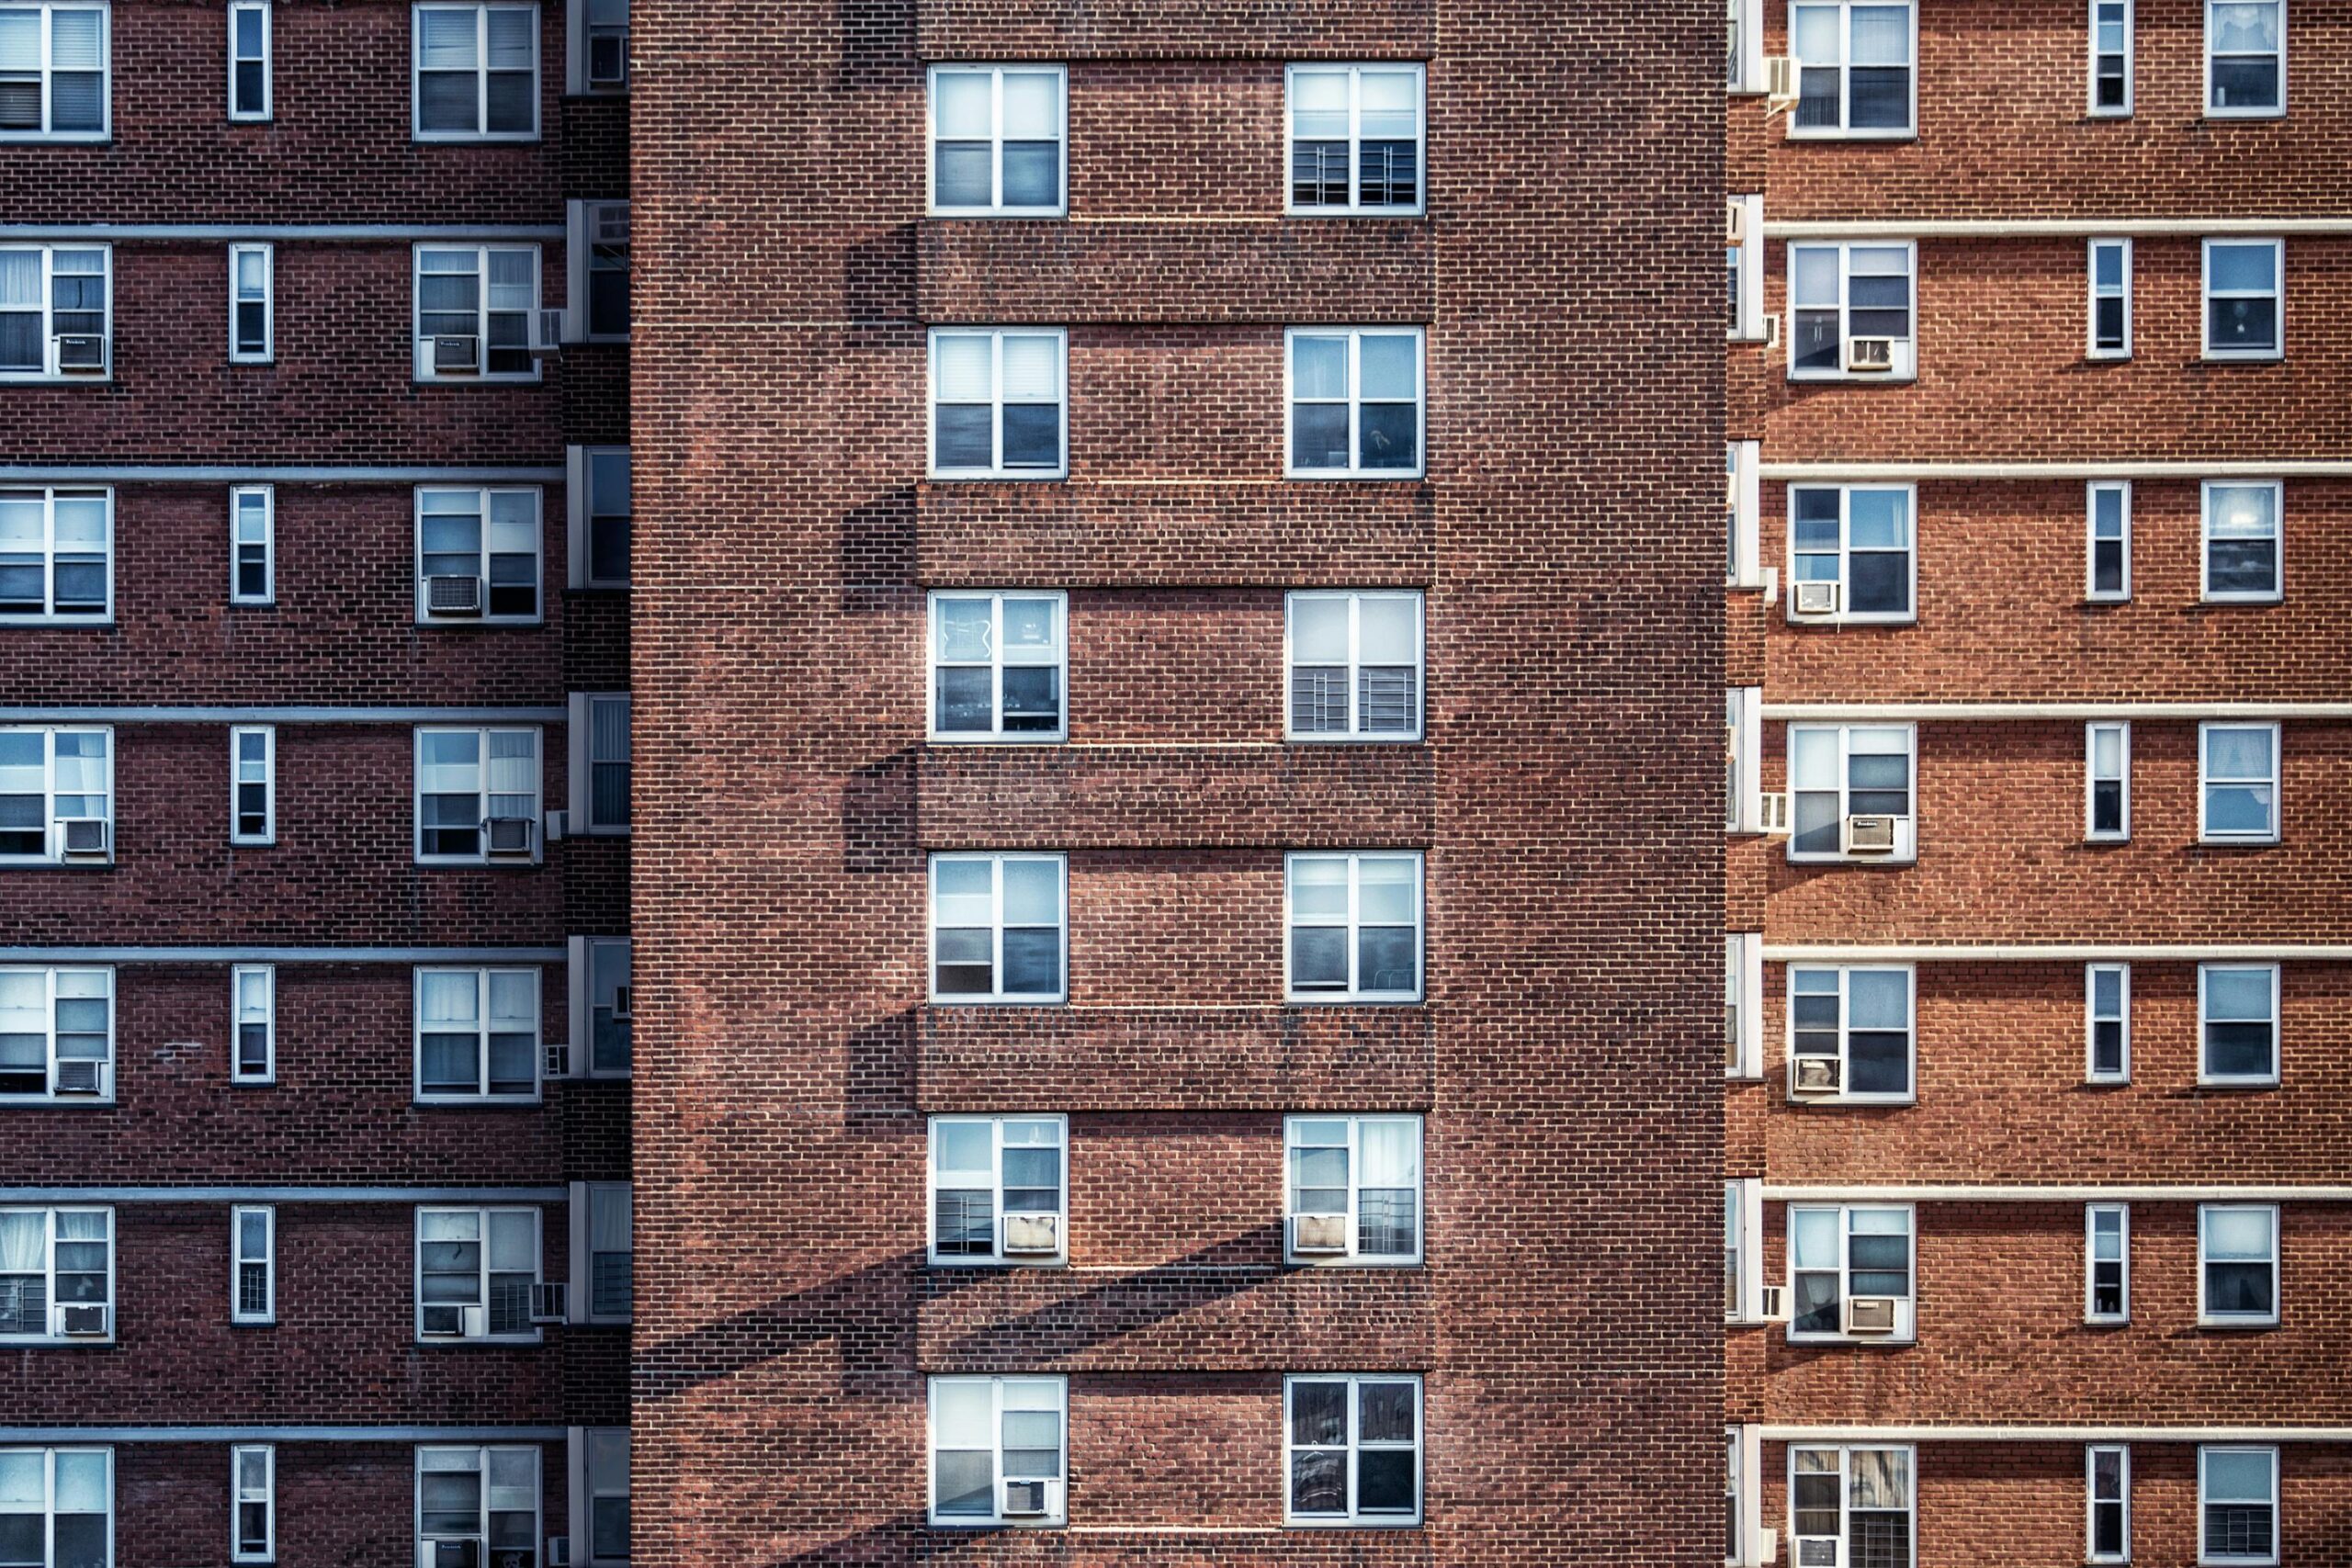
At SWA, we’ve worked on over 2.2 million square feet of multifamily and dormitory buildings that used CAR dampers to balance large-scale ventilation systems. Here’s what we’ve learned about constant airflow regulators (CARs) and measuring air flow.
Read