
2025 ICC 700 National Green Building Standard (NGBS): Important Updates for Residential Project Teams
Find out what will change (and what won’t) for residential project teams in the upcoming 2025 NGBS.
Read
Blog
Whether you’re new to heat pumps or need a quick refresher, this video series demonstrates each step of how to install an air-source heat pump system optimized for efficiency and comfort in colder climates—which is critical to widespread adoption.
Air-source heat pumps (ASHPs) can efficiently and reliably heat homes, even in colder IECC climate zones 4-6. But to get the best performance, you need to A) select the right equipment for the application and B) install the equipment correctly. Poor installation can compromise comfort, efficiency, and equipment longevity.
At SWA, we collaborated with Jon Harrod, a longtime heat pump contractor in New York State, to produce a video series on how to install an air-source heat pump sponsored by NYSERDA. The videos document a real-life ASHP system installation and demonstrate best practices along the way.
Below are three key themes to keep in mind while watching the training, followed by the full video series. Each video is 2-5 minutes and offers a quick refresher of an important step in inverter-driven ASHP installation. The videos are also available on NYSERDA’s Clean Heat Connect site and on a YouTube playlist.
Want to earn CEUs? Enroll in the expanded ASHP installation course on SWA Academy to get credits for AIA, BPI, NATE, NYS PE, and RESNET. New York State residents and workers can sign up for free access here.
This is one of the biggest causes of failure. Modest leaks cause lower efficiency and capacity. Larger leaks result in complete failure—sooner or later. Several of the videos demonstrate how to prevent leakage.
The refrigerants used today are potent greenhouse gases, so major leaks can negate any CO2 savings compared to heating with fossil fuels. Learn more >>
For many single- or two-speed heat pumps with thermostatic expansion valves (TXVs), manufacturers recommend measuring subcooling to determine proper charge. But this usually isn’t practical with inverter-driven heat pumps. Most installation instructions say refrigerant needs to be weighed-in. Calculating proper weight requires details like accurate line set lengths.
If your stakeholder is a building owner, it’s important to verify that the locations of equipment are acceptable (IDUs, ODUs, line sets). Also, reliable performance requires proper operation and maintenance, and owners are key players here.
Before beginning any installation, plan the layout of both indoor and outdoor units and review the proposed layout with your client. Indoor units should have clear airflow pathways, adequate clearance, and no obstructions. Outdoor units should be located away from water runoff areas like roof valleys and eaves and with proper spacing from other units, plants, and vents to maintain airflow and efficiency. Finally, line sets should be kept short, simple, and visible for easier installation and future access.
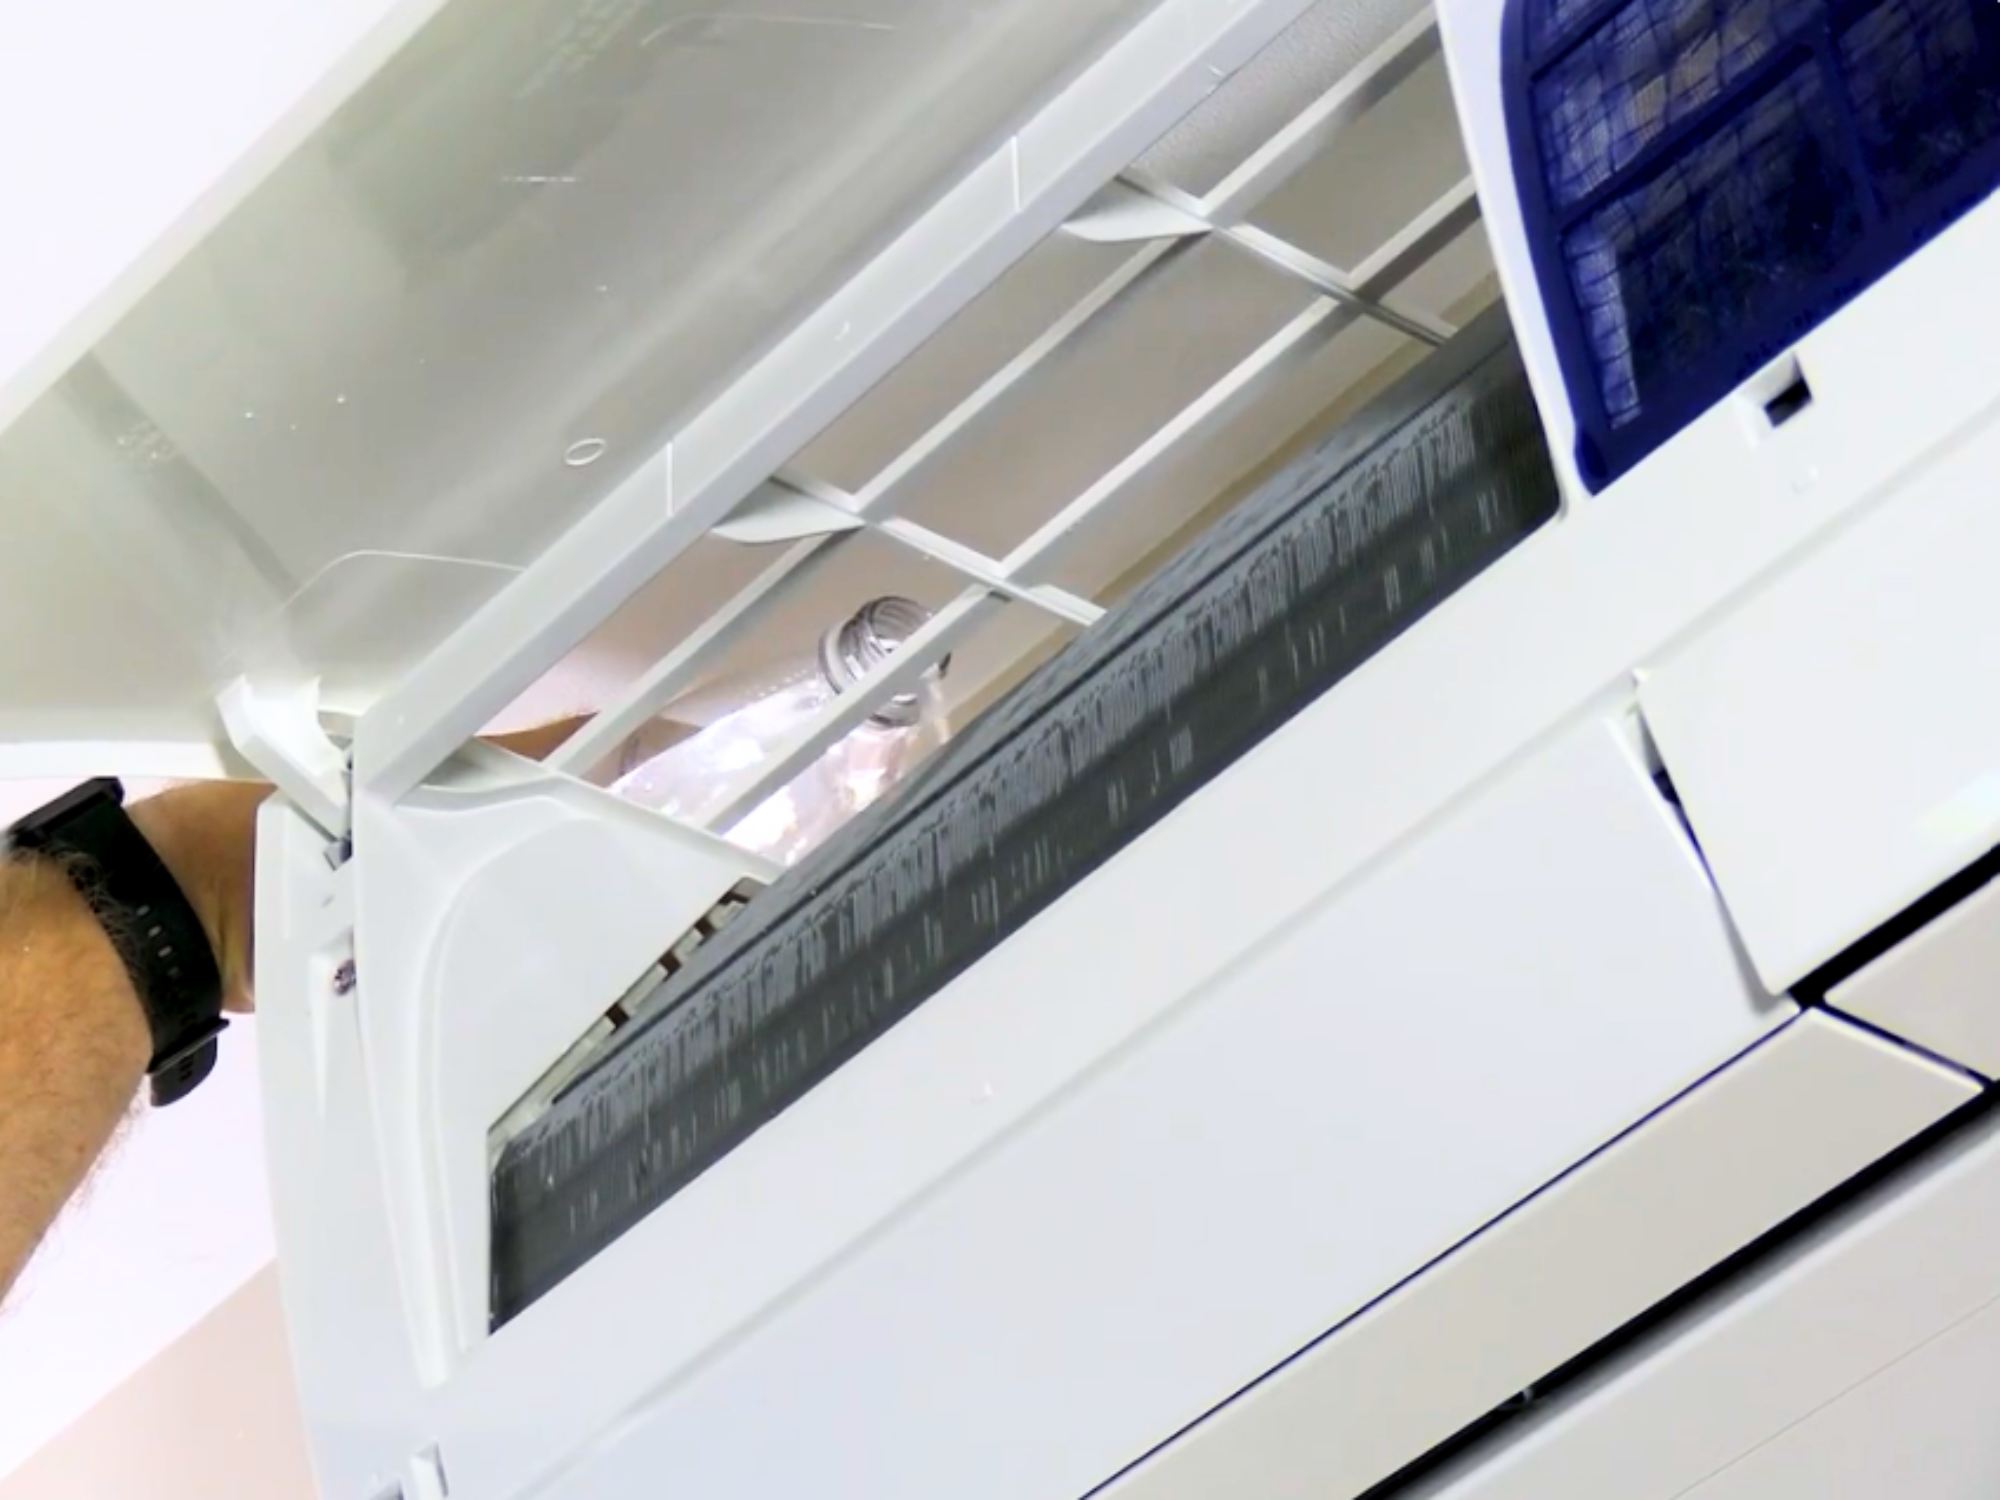
To install a ductless mini-split indoor unit, prepare your workspace. Securely mount a level wall plate and drill a downward-angled hole for proper drainage. Then add a protective sleeve, feed and connect wiring according to the manufacturer specs, and bundle the refrigerant lines, drain, and cables. Lastly, mount the unit and snap into place.
Before setting up the outdoor unit, ensure the location meets manufacturer clearance requirements and allows for easy access and maintenance. Make sure there is a level, stable base, ideally a concrete or prefab pad on compacted gravel. The unit should be elevated above expected snow levels using a stand or wall bracket with vibration dampeners to minimize noise. Avoid placing units under roof runoff areas unless protected by shields, and ensure airflow isn’t obstructed by nearby units or structures.
Line set covers protect refrigerant lines, insulation, and wiring while giving HVAC installations a cleaner look. To reduce cost and visual impact, runs should be short and follow trim or soffits when possible. Condensate drains can run inside covers but should exit quickly and steeply. Install the line set covers by attaching back plates and securing the line sets. The front covers can be added when the job is nearing completion.
Reliable condensate drainage is important. Gravity drainage is ideal using rigid tubing like PVC or PEX with a continuous downward slope and no dips. Avoid flexible or corrugated tubing and never drain within line set covers or against siding. If gravity isn’t possible, use a condensate pump. Always test the system before leaving and ensure future access for maintenance.
Roughing in line sets involves carefully routing refrigerant tubing from indoor to outdoor units. Use the correct pipe size for each unit, keep tubing ends sealed to stay clean, and avoid kinks or insulation damage during handling. Support horizontal runs at least every six feet and vertical runs every ten, keeping lines out of high-traffic or hot areas. Avoid vertical loops. Leave extra length for making the flare fittings. Any exposed insulation should be UV-protected, and line set lengths should be recorded for future reference.
Making proper flare fittings prevents leaks. Start with a clean, square cut and deburr the tubing carefully, keeping it pointed down to avoid debris. Use a manual or powered flaring tool with a depth stop and always add the flare nut before making a flare. Inspect the flare for smoothness, apply a light coat of oil (avoiding threads), and tighten with a torque wrench to the specified setting. Record torque values for quality assurance.
Pressure testing is a vital step after connecting refrigerant piping to ensure the system is leak-free. Using dry nitrogen, a digital pressure gauge, and a Schrader core removal tool, the system is pressurized in stages—starting low to check for major leaks, then gradually increasing to the final test pressure. Leaks can be identified using an approved leak detection solution, and any faulty flares must be remade, not just tightened. If pressure holds steady for the full test duration, the system passes. Record all readings, then release the nitrogen and seal the system until evacuation begins.
Using a vacuum pump, large-diameter hose, and a digital micron gauge, the system is evacuated to remove air and moisture. The goal is to reach below 250 microns, then perform a decay test to ensure pressure stays under 500 microns for at least 10 minutes. If pressure rises, it may indicate a leak or moisture, requiring further evacuation or testing. Accurate readings, tight connections, and clean equipment are key. Once the system passes, record the results and keep it sealed until refrigerant is added.
After evacuation, it’s time to add refrigerant. First, check if the system’s pre-charge covers your line set length; if not, calculate and weigh in the additional refrigerant using a scale. For blends like R-410A, charge in liquid phase with the tank upside down. Purge air from hoses, open the valve slowly, and stop at the target weight. Replace the Schrader core, open service valves, and use a leak detector to check all fittings. Finally, re-insulate any exposed lines, cap service ports, and record the total refrigerant charge for future reference.
Electrical setup for heat pumps must be done by a qualified professional. Before installation, confirm the panel has enough capacity and correct voltage. Use the proper breaker, wire type, and gauge—especially for long runs—and seal all wall penetrations. Install surge protection, label breakers, and ensure communication wiring is correct and continuous. Before powering on, verify voltage and that the surge protector is active.
Before completing a heat pump installation, it’s essential to verify proper system operation. Start by checking that the condensate drains correctly. Then, run the system in both heating and cooling modes, measuring and recording inlet, outlet, and outdoor air temperatures. For multi-zone systems, confirm that each zone’s controls function properly. If construction is ongoing, disconnect power and cover the indoor unit to protect it from dust and debris.
Seal all wall penetrations to prevent air leaks, moisture, and pests. Ensure refrigerant and condensate lines are properly supported, fully insulated, and have UV protection outdoors. Secure all line set covers and access panels, being careful not to over-tighten screws. Clean the unit and work areas, label the breaker clearly, and record all system details and checklist items before leaving the site.
The final step in a heat pump installation is educating the client on system operation and maintenance. Provide all documentation, including manuals, warranty info, and refrigerant charge details. Walk them through system modes, fan and louver settings, and how to use the remote. Explain defrost cycles and what to expect during winter operation. Show them how to clean filters and keep the outdoor unit clear of debris. Review surge protector indicators and outline what annual service includes—inspections, coil cleaning, and leak checks—so they know how to keep the system running smoothly.
Don’t forget to save the YouTube playlist to watch the videos on your phone while in the field performing your next ASHP installation.
If you need CEUs, enroll in the expanded version of this training on SWA Academy. New York State residents and workers can get free access here courtesy of NYSERDA.
If you want to learn more about system design and equipment selection, we have a more in-depth SWA Academy video training on the implementation of split, inverter-driven ASHPs in single-family homes and multifamily buildings located in colder climates. The course explores real-world examples of both successful and problematic ASHP applications. Visit SWA Academy to learn more and preview the course.
If you need support to design and implement an ASHP system for your next residential project, we’re here to help! Reach out to SWA by filling out our contact form.
Author: Robb Aldrich, Principal Mechanical Engineer